Hello everyone,
In previous blog we did the Jboss EAP 6.2 installation using a Zip file by simply unzip it into your jboss home location. Here is the scenario where we are going to install the JBoss EAP 6.2 in our environment and configure it using a jar file. Installation of Jboss using jar file is more user friendly and you can check the installation procedure step by step.
Before proceeding with the installation, you should have installable available with you. Installable are available on link https://access.redhat.com/site/downloads/ . Go to the Red Hat JBoss Enterprise Application Platform and download the jar file.
i.e. jboss-eap-6.2.0-installer.jar
Next is to make sure that you have a JVM installed in your
machine. You can try running the following command in your terminal:
$ java –version

In case if you don’t have a JVM install, the install suitable JVM first and the JAVA_HOME and PATH environment variable.
Once you have a jboss-eap-6.2.0-installer.jar
available then simply execute the following command to start the jboss
installation in GUI mode.

Press ok and start Installation.


The next screen will prompt you for the logging option. Here
you can configure logging option as per your requirement and press Next button.

Management Console
Open a web browser and type http://localhost:9990/
“Effort only fully releases its reward after a person refuses to quit.”
In previous blog we did the Jboss EAP 6.2 installation using a Zip file by simply unzip it into your jboss home location. Here is the scenario where we are going to install the JBoss EAP 6.2 in our environment and configure it using a jar file. Installation of Jboss using jar file is more user friendly and you can check the installation procedure step by step.
Here we follow the procedure given bellow.
- Check system prerequisites
- Install JBoss EAP 6 using zip download
- Start / Stop JBOSS EAP 6.2
- Access and Manage JBoss EAP 6.2
Step 1: Check System Prerequisites
Before proceeding with the installation, you should have installable available with you. Installable are available on link https://access.redhat.com/site/downloads/ . Go to the Red Hat JBoss Enterprise Application Platform and download the jar file.
i.e. jboss-eap-6.2.0-installer.jar
$ java –version
In case if you don’t have a JVM install, the install suitable JVM first and the JAVA_HOME and PATH environment variable.
Step 2: Install JBoss EAP 6 using jar download
$ java –jar jboss-eap-6.2.0-installer.jar
Press ok and start Installation.

Accept the term and conditions and press Next button.
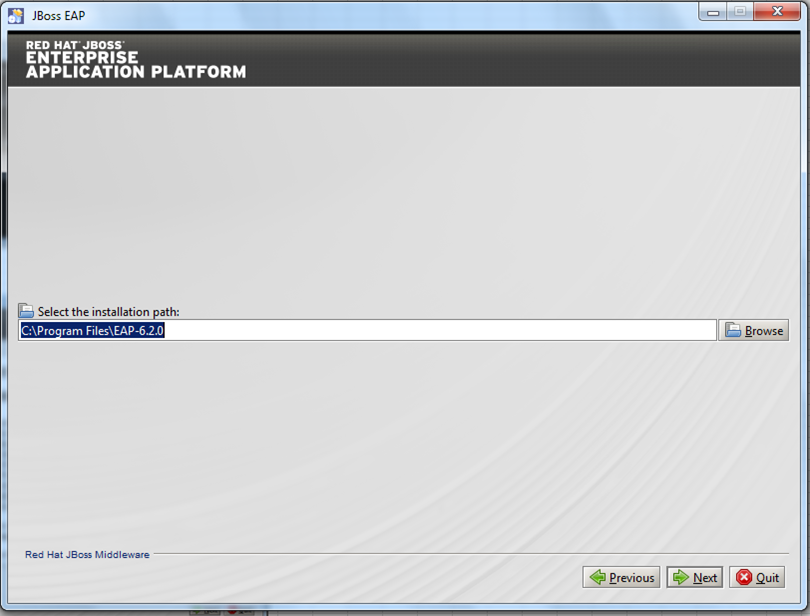
Select the installation path or JBOSS_HOME for installation
of product and press Next button.

A new directory will be created automatically.
Create administrator user for accessing management console
and press Next button.
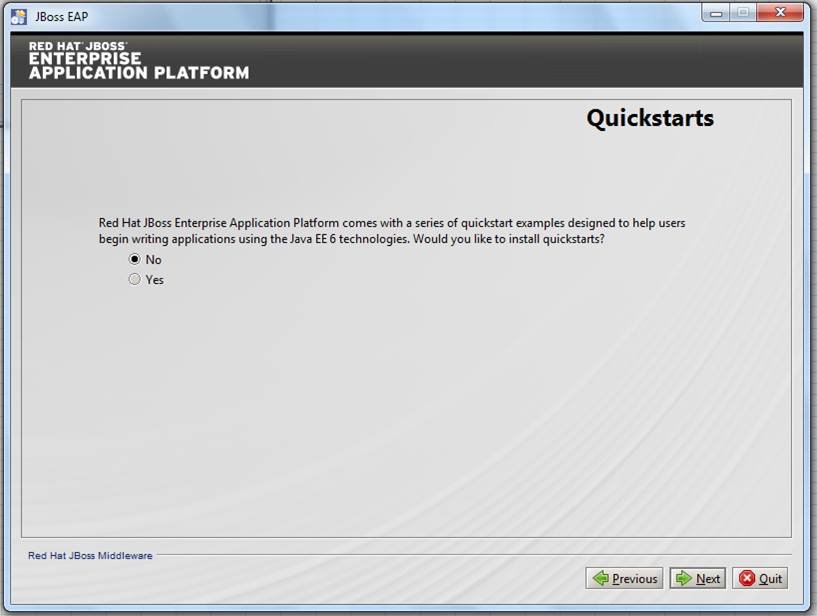
If you want to install QuickStart
tool press Yes otherwise press No and press Next button. In this case we are not installing the tool.

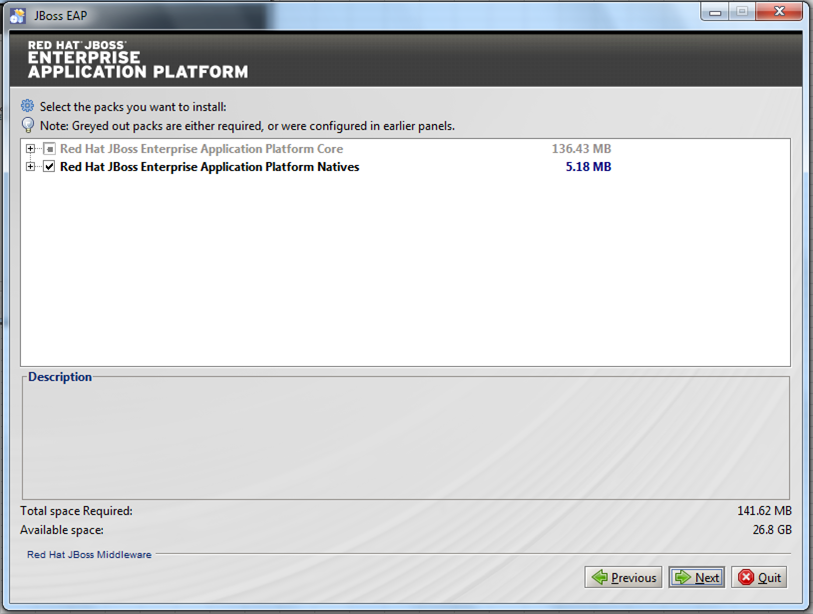
This page allow you to select package you want to install don’t
change anything just press Next button.

This page ask you for the socket binding option if you want
to select the default port select default option or you can customize port
binding as per your requirement in the same page click your option and press Next button.
After socket binding it will ask you to, start the servers
after installation or not. Select your choice and press Next button.

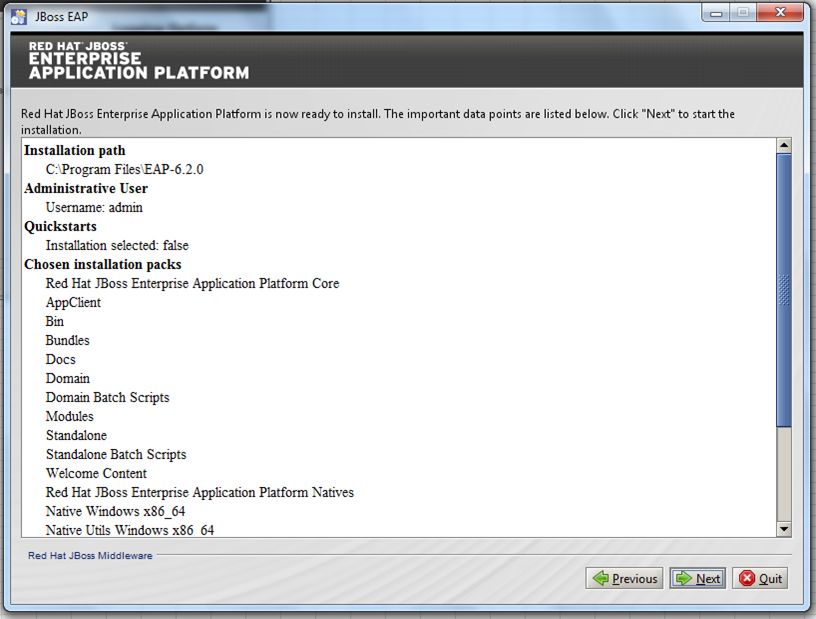
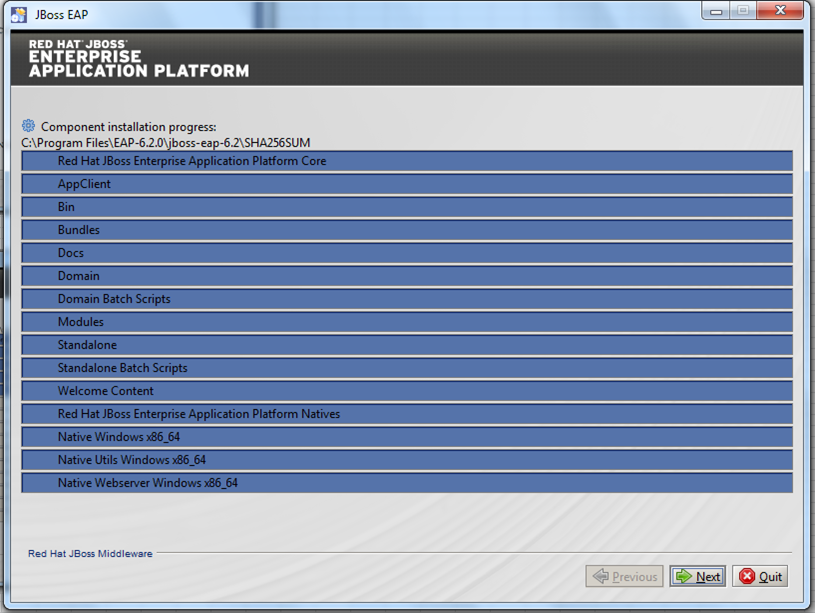
The red hat Jboss Enterprise Application Platform is ready
to install. Click Next to start
installation.

After installation of components press the Next button.

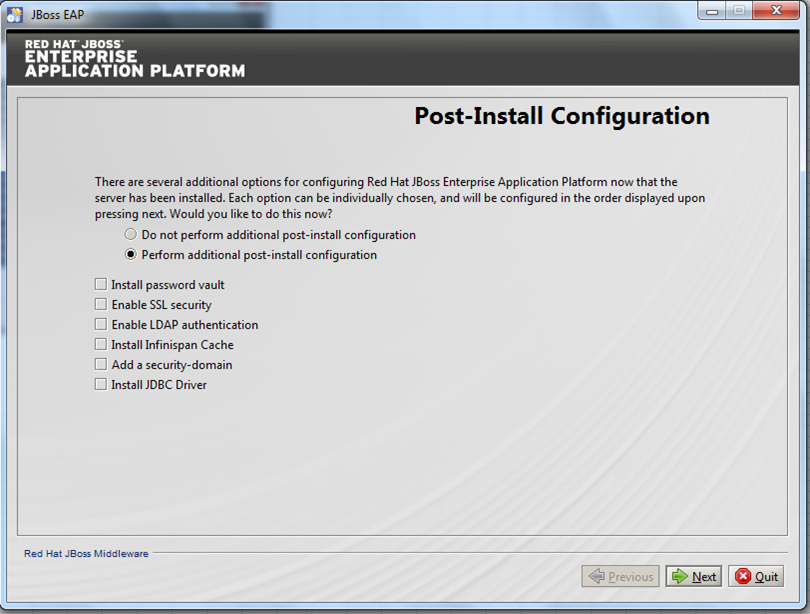
This screen will ask you for the post-install configuration.
If you want to configure anything listed in the screen just select the option
and proceed with configuration.

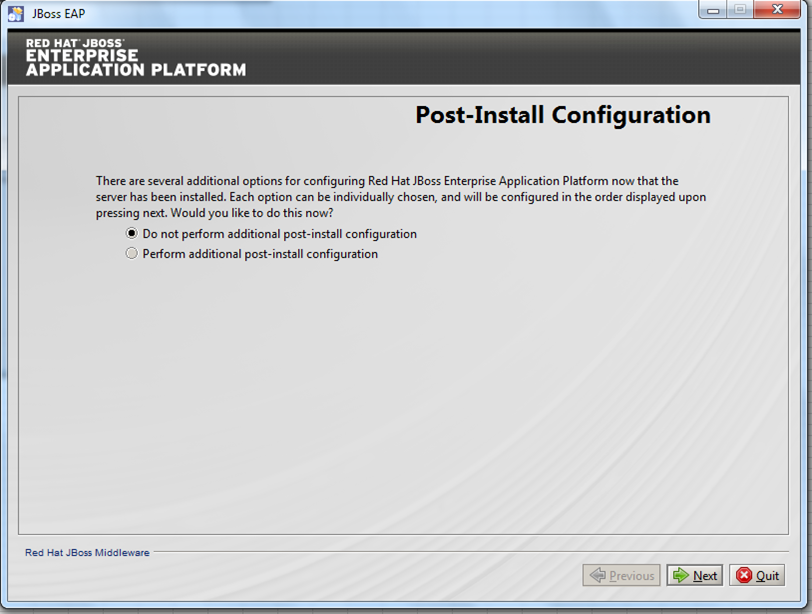
In our scenario we are not configure any product, so select Do not perform additional post-install
configuration option and press Next
button.

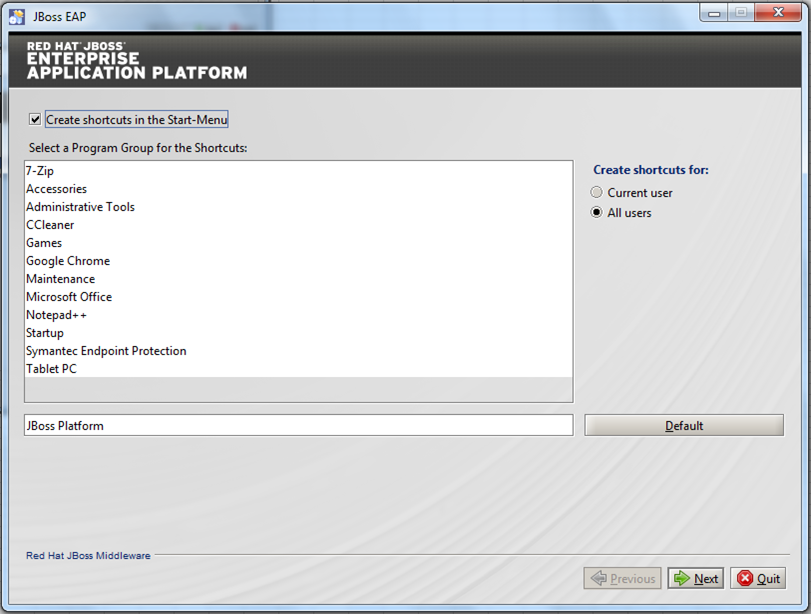
This screen will ask you to create shortcuts in the start
menu, press Next button.

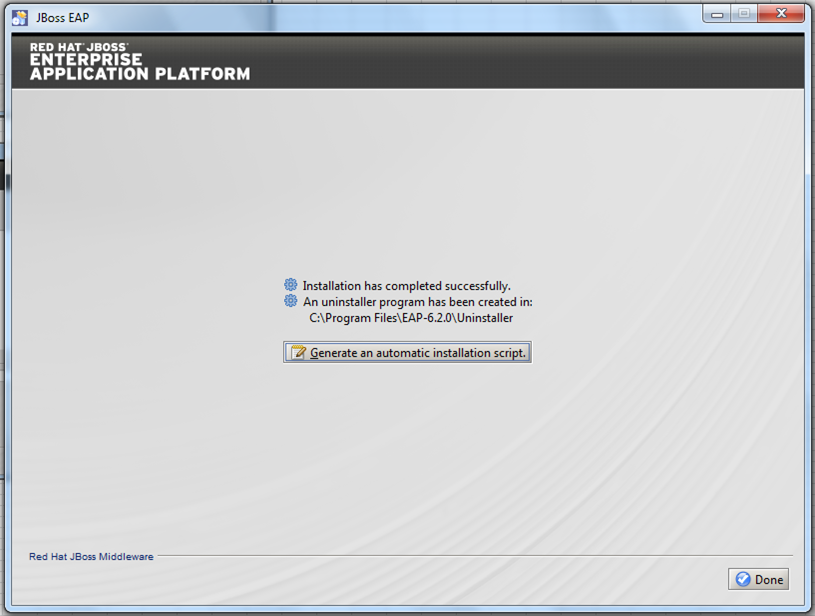
Once to get the message installation has completed successfully
click on Done and finish the
installation.

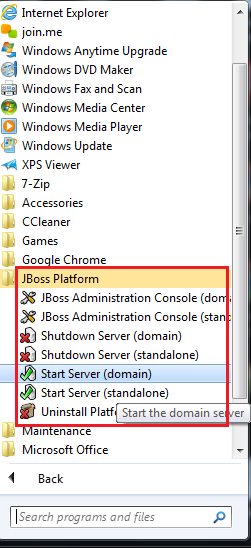
Step 3: Start / Stop JBOSS EAP 6.2
Once installation done go to the Start Menu > All Programs > Jboss Platform > Start Server start the domain or standalone server which you want. Similarly you can stop it from same location.
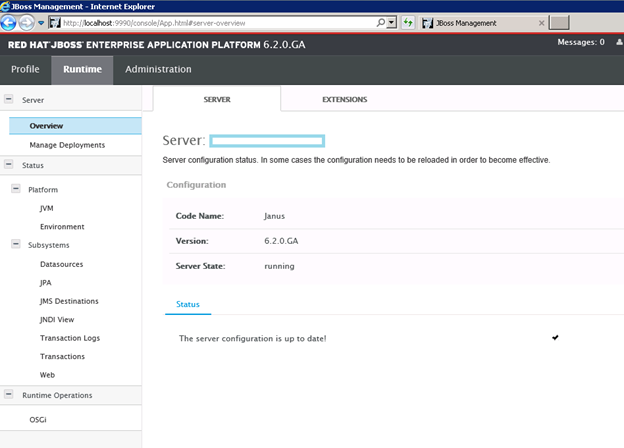
Step 4: Access and Manage JBoss EAP 6.2
Open a web browser and type http://localhost:9990/

I hope this post will help you all
“Effort only fully releases its reward after a person refuses to quit.”
Regards,
Akhilesh B. Humbe

No comments:
Post a Comment